How to Measure Standby Current With a Multimeter
As an Amazon Associate we earn from qualifying purchases.
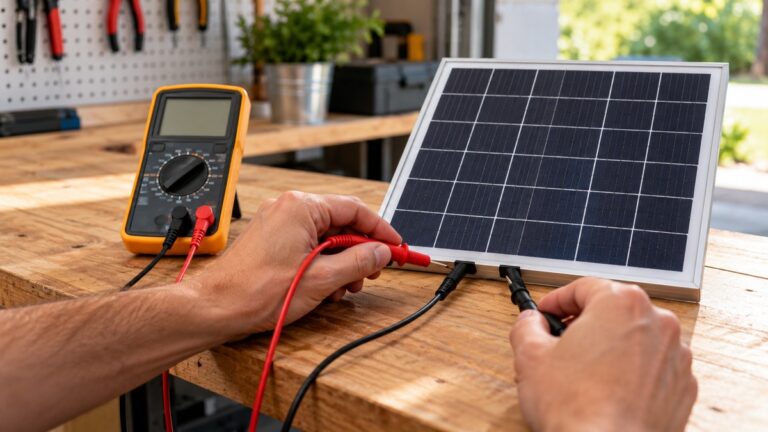
How to measure standby current with a multimeter means putting the meter in series with the load while the device sits in its sleep state, then reading the small current it still draws. Standby work adds two steps: wait until the device or the vehicle’s modules have settled into sleep, and step down from the highest current range only after the reading holds steady. The steps below cover low-voltage DC work on batteries, bench circuits and 12 V automotive key-off tests.
Electrical safety first
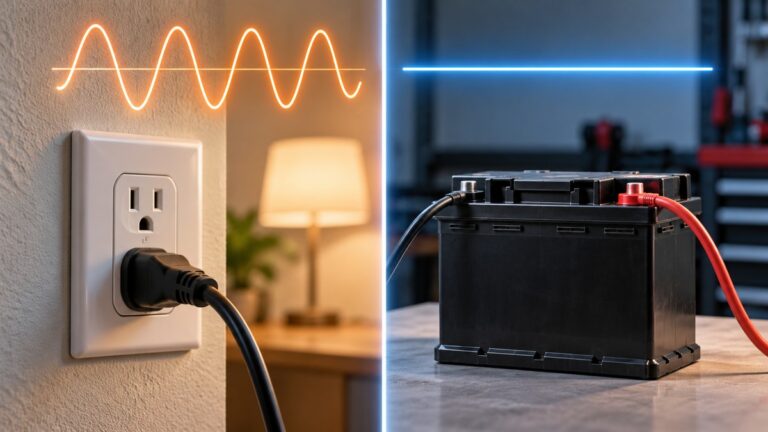
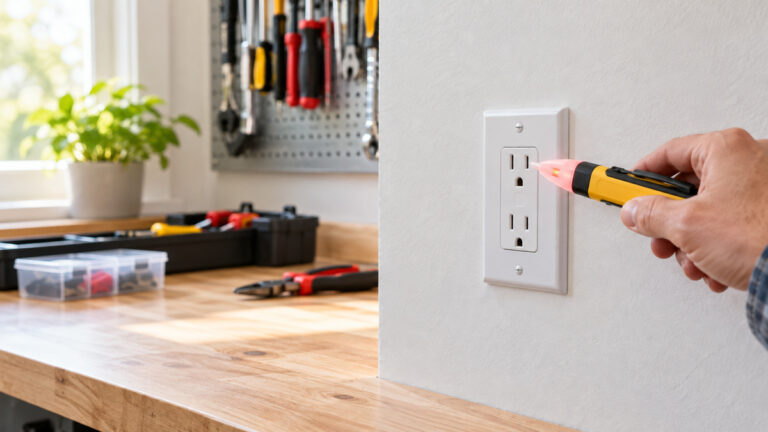
Work on mains circuits can kill. This guide does not cover wall outlets, breaker panels, service wiring, or the standby draw of appliances that plug into mains. Digilent says that mains work calls for a meter with a CAT III or CAT IV rating, and that putting a meter in series with live mains carries real risk, including a shock [1]. Before you measure anything, check that the meter’s CAT rating suits the circuit you are testing, and read that rating from the listing or the manufacturer’s manual. The pages used for this post do not state a CAT rating for any meter, so this post gives no rating. Panel and service work belongs to a licensed electrician. That sentence is the site’s advice, not a finding from the sources.
On a car, disconnect the negative battery cable before you connect the meter, and check that the meter’s fuses are intact before you start [9]. Do not work on airbag systems or high-voltage hybrid and EV systems. That is a site rule, and none of the pages used here covers those systems.
Quick answer
- Set the device or vehicle to the state you want to measure, then wait for the modules to settle. The sources give 10 to 45 minutes, 20 to 45 minutes, and 30 to 60 minutes.
- Open the circuit and place the meter in series, on a DC current setting.
- Start on the highest current range, then move to a milliamp or microamp range once the reading holds steady.
- On a car, typical key-off draw is 20 to 50 mA, and a reading above 100 mA after sleep is treated as suspect.
What standby current means
Standby current is the small current a circuit draws while it is switched off or waiting [2]. MOTOR describes the automotive version as the battery current that exists with the vehicle shut down, the key removed, accessories off and, on newer vehicles, all modules in their sleep state [5]. Electro Bob uses standby for a circuit that draws very little between active periods [2]. Digilent notes that a sleeping microcontroller might draw microamps, which it describes as millionths of an amp [1].
On a car, the sources treat this draw as expected. AutoDTCs says that normal sleep current falls between 20 and 50 milliamps once all modules have entered their sleep states [10]. A reading taken before that sleep state is reached does not show the normal figure, which is why the wait in step 2 matters.
How we chose
This post uses ten pages that loaded on 2026-10-21 and described a method in plain words, or stated a figure with its condition. Four more pages returned a 403 or 429 status and were not counted: a Keysight guide, a Hagerty article, an ALLDATA parasitic draw page and an Innova page. Three more loaded without text we could use. Where two pages give different figures, such as the wait before a reading, this post shows each figure with its source.
Before you start: meter, leads and fuses
- On many meters, the high-current jack is rated for 10 A and is either unfused or protected by a high-value fuse. The milliamp jack is shared with voltage and resistance and is fused at roughly 200 to 400 mA [1].
- If you do not know how much current to expect, start on the 10 A range [1]. The Fluke guide gives the same order: use the 10 A jack first, then the mA jack once the current drops below 400 mA [6].
- One repair guide’s meter has a low-current port limit of 600 mA, and it advises the high-current method first when a reading may be higher [3]. That limit belongs to that meter only.
- For a parasitic draw test on a car, select DC current. The symbol with a straight line means DC [4].
- The sources do not state a fuse rating for any meter. Read the rating from your meter’s label or manual before you connect it.
A memory saver or fuse loop can keep a vehicle’s memory during testing. The Fluke guide says to use one if needed, and to remove it during the actual current reading [6].
For meter models with a milliamp or amp range, see the DC current meter guide, and for clamp styles see the amp clamp guide. For a general meter that reads voltage, current and resistance, see the auto-ranging multimeter guide. This post does not recommend a model.
Steps to measure standby current
Step 1: Set the device or vehicle to the state you want to measure
For a car, the Fluke guide says the engine must be off, all accessories off, and the doors closed with the interior lights off [6]. Apex says to close all doors and lock the vehicle [8], and AutoDTCs says to fully latch the doors, the bonnet and the boot [10]. For a bench device, the sources do not give a checklist. Set the device to the mode you want to measure, and write that mode down with the reading.
Step 2: Wait for the modules to sleep and the reading to settle
Fluke says to let the vehicle sit for 10 to 45 minutes so the modules can enter sleep mode [6]. Apex gives 20 to 45 minutes as a minimum [8]. AutoDTCs gives 30 to 60 minutes on most vehicles, and warns that testing about 15 minutes after key-off can show 300 to 500 mA from normal module activity [10]. The sleep state shows when the reading stops fluctuating. AutoDTCs says to watch the reading for at least two minutes of stability before you record it [10].
Do not skip the wait. MOTOR notes that sleeping modules wake when power is restored, which can skew the result [5].
Step 3: Open the circuit and connect the meter in series
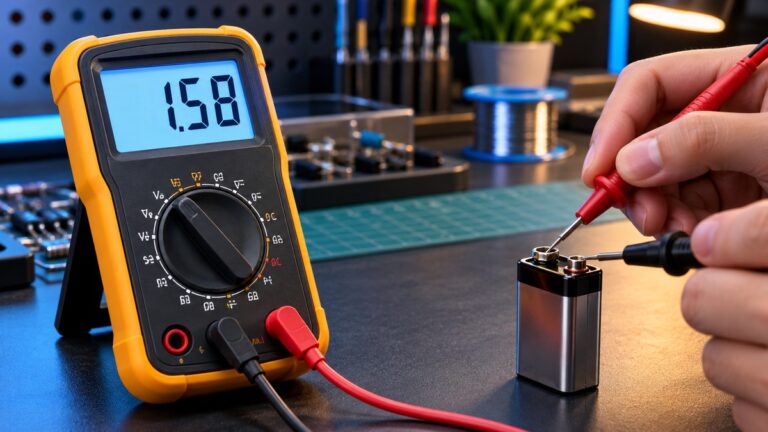
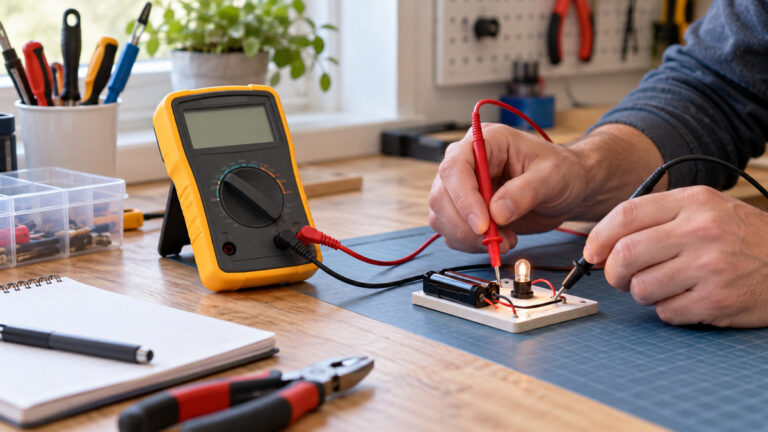
Current is measured in series because the meter has to become part of the circuit [1]. On a car, disconnect the negative battery cable, then connect the meter between the cable and the battery post [6][8]. On a bench circuit, remove a wire or jumper to open the path, and bridge the gap with the meter probes [1]. Digilent advises turning the power off before you remove the meter and restore the wiring [1]. Digilent also warns against an amp-mode meter in parallel, because it shorts the source [1].
Step 4: Start on the highest current range
Apex says never to start on the milliamp scale, because the initial spike can blow the meter fuse [8]. AllMultimeterGuide says to start on the highest setting and work down if the reading is too small to see [4]. Digilent gives the same advice when the current is unknown [1].
Step 5: Step down once the reading holds steady
Apex says that once the reading stabilizes, you can switch to the milliamp scale for a more precise reading [8]. The Fluke guide says to switch to the mA jack once the current drops below 400 mA [6]. The iFixit guide says microamp mode gives more precision at very small currents [3].
Check the shunt before you rely on a microamp reading. Electro Bob says a meter’s current shunt drops voltage across the meter, and on a low-voltage supply that drop can push the circuit outside its operating range [2]. The post says the microamp range of its bench meter has a much larger shunt than the milliamp range [2]. It describes the usual fix as a dedicated circuit with a smaller shunt and a precision amplifier, and it describes a simpler external shunt that the author built [2]. The sources do not give a design you should copy, and this post does not recommend one.
Step 6: Log the current for sleep and wake cycles (optional)
A handheld meter gives one reading at a time. Digilent says that logging current over time makes it easier to capture a device’s full sleep-wake cycle, and you can see the current rise when the device wakes and drop when it returns to sleep [1].
Step 7: Use the clamp method on a car if you can
AutoDTCs calls the clamp meter method the preferred method, because it does not require disconnecting the battery, which avoids waking modules and resetting the sleep timer [10]. It uses a DC clamp meter that can read milliamps [10]. The sources do not say how small a DC current a clamp can resolve, so check the clamp’s listing or manual before you rely on it for a low milliamp draw.
Step 8: Isolate the circuit with fuses
If the reading is above the expected range, pull the fuses one at a time and watch the meter. The Fluke guide says that a significant drop after one fuse comes out points to the circuit drawing the current [6]. AutoDTCs describes the same fuse-pull procedure and suggests using the vehicle’s fuse box diagram [10].
Reading the result
For most modern vehicles, the sources give a normal sleep current of 20 to 50 mA [7][8][10]. AutoDTCs notes that some manufacturers allow up to 80 mA [10]. Battery Tender says abnormal draw begins at around 75 to 100 mA [7]. The Fluke guide treats a reading above 100 mA after sleep as suspect [6]. AutoDTCs says to check the manufacturer’s specification for the exact vehicle, because a vehicle with telematics or a factory alarm may have a higher normal figure [10].
For a bench device, the sources do not give a standby value for any device. Compare your reading with the figure in that device’s datasheet or manual. Digilent says most bad readings have one of three causes: a blown fuse, which shows 0.00 A, a poor connection, which gives an unstable reading, or a short through the meter, which shows an overload on every range [1].
Common mistakes
- Starting on the mA range. Apex says the initial spike can blow the meter fuse [8].
- Reading too early. AutoDTCs warns that readings taken soon after key-off can look like a fault during normal module activity [10].
- Disconnecting the battery to insert the meter. MOTOR says the method is frowned upon today, because sleeping modules wake when power returns [5]. The clamp method avoids that step [10].
- Using the wrong mode. Digilent says the mode must match the source, or the reading will be meaningless [1]. For a car, use the DC setting [4].
- Exceeding the mA port limit. Digilent says that when the mA port’s fuse rating is exceeded, the fuse blows, often with no warning beyond a dead 0.00 A reading afterward [1].
Frequently asked questions
Is standby current the same as parasitic draw?
The automotive sources use parasitic drain or parasitic draw for the key-off current of a vehicle [5][10]. Electro Bob uses standby for a circuit that sleeps between active periods [2]. The series connection is the same in both cases [1][9], and the normal figures differ by device.
How long should I wait before I read?
The sources do not agree. Fluke gives 10 to 45 minutes [6], Apex gives 20 to 45 minutes as a minimum [8], and AutoDTCs gives 30 to 60 minutes on most vehicles [10]. Record the reading only after it holds steady for two minutes [10].
Can I measure without breaking the circuit?
On a car, the clamp method does not require disconnecting the battery [10]. The sources do not give the smallest DC current a clamp can resolve, so check the clamp’s listing or manual before you rely on it for a low milliamp draw.
Can I measure standby draw on a wall outlet?
No. This guide gives no method for mains, so that case is out of scope. Digilent says mains work calls for a CAT III or CAT IV meter, and that series measurement on live mains carries a risk of shock [1].
What does a 0.00 A reading mean?
Digilent says a 0.00 A reading usually points to a blown fuse, which is one of three common causes [1]. Check the fuse rating in your meter’s manual before you replace the fuse, because the sources do not give a rating for any meter.
What we could not verify
The sources we opened do not cover the points below, so this post does not claim them.
- No meter is named in this post, and no page gives a CAT rating, voltage rating or fuse rating for a specific meter.
- No page gives a standby current value for a bench device.
- The sources disagree on how long to wait for sleep, and on the top of the normal range for a car. This post shows each figure with its source.
- The sources do not describe a checklist for putting a bench device into standby.
- The sources do not give the smallest DC current a clamp meter can resolve.
- The Electro Bob post describes one author’s shunt adapter. The sources do not say how accurate that adapter is over its full range, or whether it suits your supply.
Bottom line
Measure standby current in series, after the device or modules have settled, and start on the highest current range before you step down to milliamps or microamps.
Sources
- [1] Digilent, Measuring Current with a Multimeter: Amps, Wiring, Safety. https://digilent.com/blog/how-to-measure-current-with-a-multimeter/ (opened 2026-10-21)
- [2] Electro Bob, Simple active/standby current measurement. https://www.electrobob.com/simple-activestandby-current-measurement/ (opened 2026-10-21)
- [3] iFixit, How to Make Advanced Measurements With a Multimeter. https://www.ifixit.com/Guide/How+to+Make+Advanced+Measurements+With+a+Multimeter/163244 (opened 2026-10-21)
- [4] All Multimeter Guide, How to Measure Amps with a Multimeter. https://allmultimeterguide.com/how-to-measure-amps-with-a-multimeter/ (opened 2026-10-21)
- [5] MOTOR, Quelling Quiescent Current Consumption. https://www.motor.com/magazine-summary/quelling-quiescent-current-consumption/ (opened 2026-10-21)
- [6] Fluke, How to Find Parasitic Battery Drain with a Multimeter. https://www.fluke.com/en-us/learn/blog/digital-multimeters/how-to-find-parasitic-battery-drain-with-a-multimeter (opened 2026-10-21)
- [7] Battery Tender, Parasitic Battery Drain: How to Find and Fix It. https://www.batterytender.com/blogs/battery-tender-blog/parasitic-battery-drain-how-to-find-and-fix-it (opened 2026-10-21)
- [8] APEX Tech Nation, Parasitic Draw Testing. https://apextechnation.com/articles/parasitic-draw-testing (opened 2026-10-21)
- [9] Voltage Basics, How to Use a Multimeter to Check Parasitic Draw and Battery Drain. https://voltagebasics.com/how-to-use-a-multimeter-to-check-parasitic-draw-and-battery-drain/ (opened 2026-10-21)
- [10] Auto DTCs, How to Perform a Parasitic Draw Test (Find Key-Off Battery Drain). https://autodtcs.com/how-to-perform-a-parasitic-draw-test-find-key-off-battery-drain/ (opened 2026-10-21)
As an Amazon Associate we earn from qualifying purchases.