Fluke 365
As an Amazon Associate we earn from qualifying purchases.
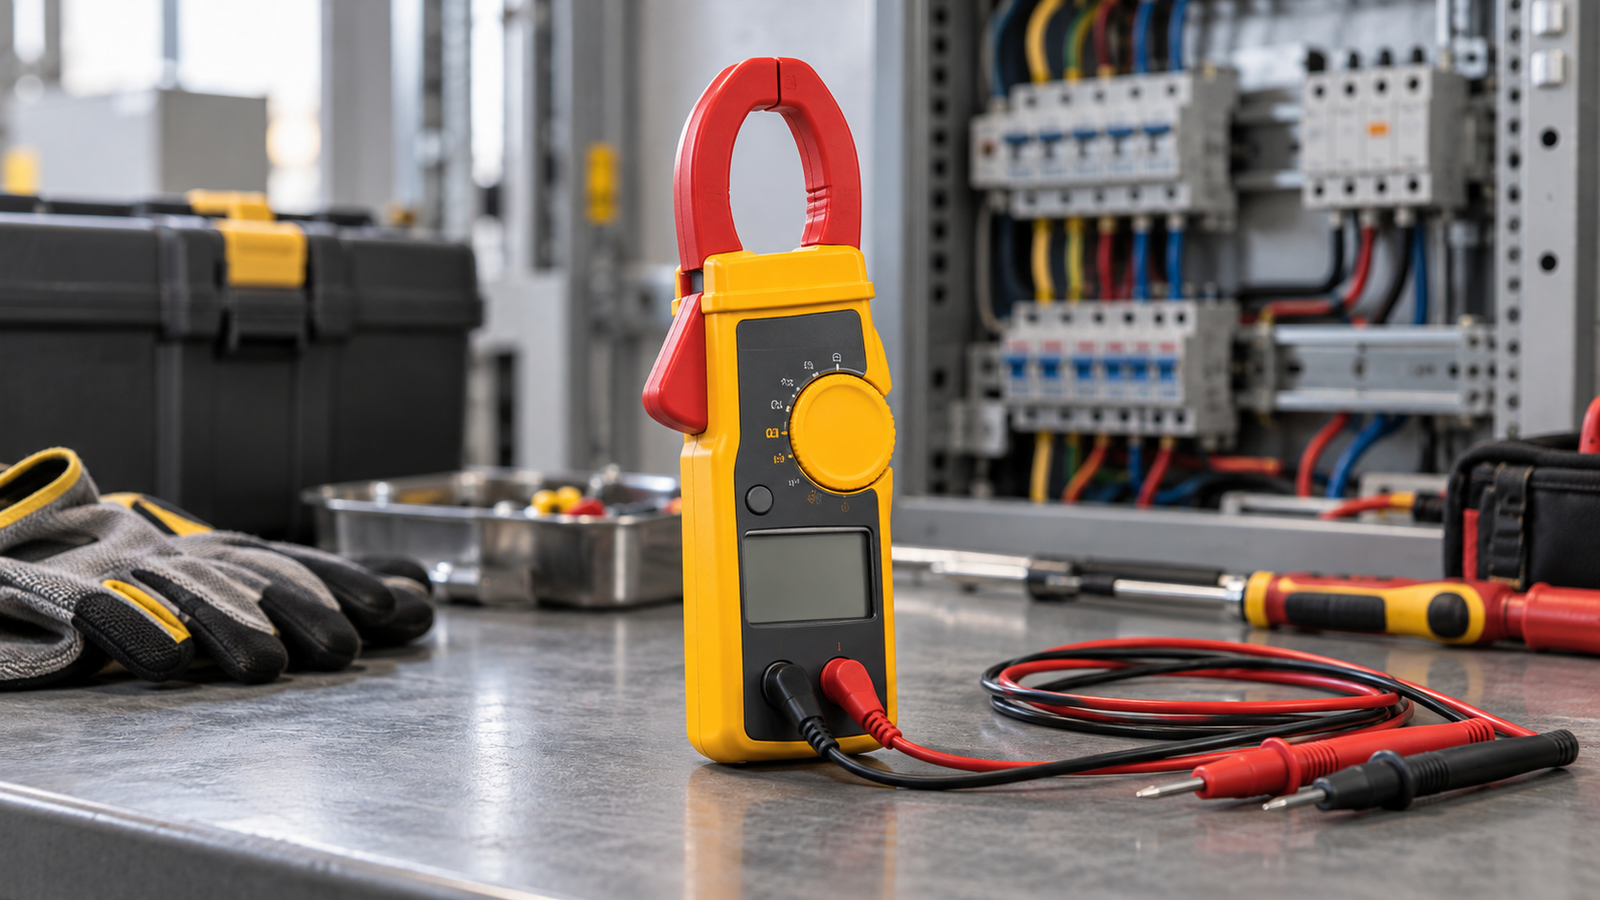
The Fluke 365 is a true-rms clamp meter whose jaw detaches from the body on a flexible lead. That design is the reason most people search for it: the thin jaw reaches wires that a standard clamp meter cannot open around. This explainer covers what the Fluke 365 measures, how to use it safely, and which specifications Fluke publishes, using only the Fluke product page, the users manual and the calibration manual we opened on 27 October 2026. Where those sources are silent, we say so.
Quick answer
- The 365 measures AC and DC current with its detachable jaw, AC and DC voltage through test leads, resistance, and continuity, according to the users manual.
- Fluke publishes a 200.0 A current range, a 600.0 V voltage range, and an 18 mm jaw opening. The jaw cable is 900 mm long.
- The safety rating Fluke prints is EN/IEC 61010-1:2001 to 600 V CAT III, with pollution degree 2. The manual says the jaw must not be used on current in circuits carrying more than 600 V or 200 A.
- Check the battery count on your box. The product page and the manual disagree on how many AA batteries the meter ships with.
What the Fluke 365 is built for
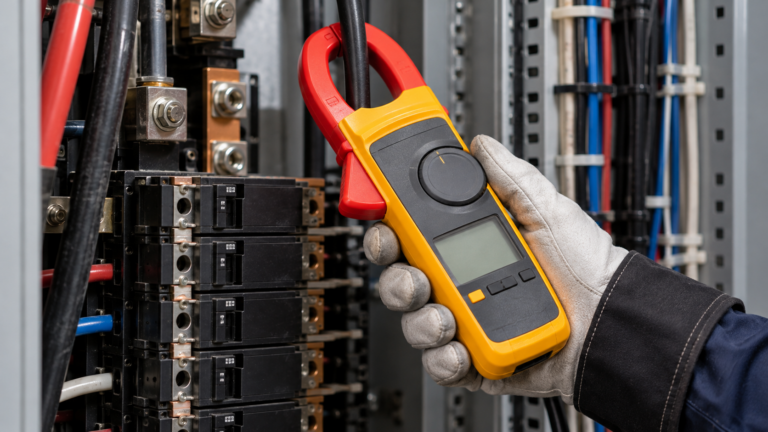
Fluke describes the 365 as a rugged meter for jobs where access to wires is difficult. The product page says the jaw is thin and small, and that it detaches with a flexible lead, which makes it easier to reach a wire and to read the display at the same time. The jaw is the part you put around the conductor. The body, with the display and the function dial, can sit in a more comfortable position while the jaw works in a tight space.
The users manual lists the measurements the meter makes: AC and DC current, AC and DC voltage, resistance, and continuity. It does not list a capacitance or temperature function, and the sources we opened do not describe any diode-test feature. If your work depends on one of those functions, check the model against your list before you buy.
The meter is battery-operated. The manual says the low battery indicator appears when the battery reaches 2.0 V, and it asks you to replace the batteries when the indicator appears. The manual also describes an automatic power-off feature. The sources we opened do not confirm how long the meter waits before it powers down, so do not rely on a specific interval.
Specifications Fluke publishes
The table below uses the figures printed on Fluke’s product page for the 365. Those figures are the manufacturer’s own, and they describe the meter under the test conditions Fluke states.
| Item | Figure Fluke publishes |
|---|---|
| AC current range | 200.0 A, resolution 0.1 A |
| AC current accuracy | 2% ±5 digits (45 Hz to 65 Hz); 2.5% ±5 digits (65 Hz to 400 Hz) |
| AC current crest factor | 2.5 at 125 A; 1.55 at 200 A |
| DC current range and accuracy | 200.0 A, resolution 0.1 A, accuracy 2% ±5 digits |
| AC voltage range and accuracy | 600.0 V, resolution 0.1 V, accuracy 1.5% ±5 digits (45 Hz to 400 Hz) |
| DC voltage range and accuracy | 600.0 V, resolution 0.1 V, accuracy 1% ±5 digits |
| Resistance ranges and accuracy | 600.0 ohm and 6000 ohm; resolution 0.1 ohm and 1 ohm; accuracy 1% ±5 digits |
| Jaw opening | 18 mm |
| Detachable jaw cable length | 900 mm |
| Size and weight | 225 mm x 65 mm x 46 mm; 275 g including batteries |
| Operating temperature | -10 °C to +50 °C |
| Storage temperature | -40 °C to +60 °C |
| Operating altitude | 2000 m |
| Safety rating | EN/IEC 61010-1:2001 to 600 V CAT III; pollution degree 2 (users manual) |
| Safety compliance listed | ANSI/ISA S82.02.01:2004 |
| Batteries | 2 AA, NEDA 15A / IEC LR6 (users manual); product page lists five AA alkaline batteries installed |
Two of these figures need extra care. The current accuracy is a percentage of reading plus a number of digits, so small readings carry a larger share of error. The crest factor row matters on distorted waveforms: the published figures are 2.5 at 125 A and 1.55 at 200 A, so the stated accuracy at the top of the range applies only to a fairly flat waveform. The product page gives these figures without describing how the meter behaves on loads that the figures do not cover.
How to use it safely
The users manual opens its warnings with a short list that applies to every task. Examine the case before you use the meter, and look for cracks or missing plastic. Examine the insulation around the connectors. Examine the test leads for damaged insulation or exposed metal, and replace damaged leads before you use the meter. Make sure the battery door is closed and latched before you operate the meter, and remove the test leads before you open the battery door.
Voltage limits come first. The manual asks you to be careful around voltages above 30 V ac rms, 42 V ac peak or 60 V dc, because those levels pose a shock hazard. It also says not to apply more than the voltage marked on the meter between the terminals, or between any terminal and earth ground. Work around bare conductors and bus bars with extra caution, because contact with the conductor can cause electric shock.
Connection order matters. The manual says to connect the common test lead before you connect the live test lead, and to disconnect the live test lead first when you finish. Keep your fingers behind the finger guards on the probes. Do not work alone, so that someone can help if an emergency happens. Follow local and national safety codes, and use personal protective equipment where hazardous live conductors are exposed.
The jaw has its own limit. The manual says not to measure AC or DC current in circuits that carry more than 600 V or 200 A with the meter jaw. That limit applies to the jaw, not to the voltage functions, and it is the first number to check before you clamp a conductor.
Resistance and continuity measurements need a dead circuit. The manual tells you to disconnect circuit power and discharge all high-voltage capacitors before you do diode tests or measure resistance or continuity. The manual’s point is that a charged capacitor can still hold energy after power is removed.
Do not open the meter. The manual says never to operate the meter with the back cover removed or the case open, and it asks that service be performed by qualified service personnel. When you change batteries, remove the test leads first, and replace the batteries as soon as the low battery indicator appears.
Category rating and what it means for your work
The manual describes CAT III as the measurement category for equipment in fixed installations, such as distribution panels, feeders, short branch circuits and lighting. The rating Fluke prints is 600 V CAT III, which is the limit the meter is designed to meet. A distribution panel is the kind of location the category describes, so the rating matters when you work there.
The manual is explicit on one point that catches many buyers out. The measurement category and voltage rating of any combination of test probe, probe accessory, current clamp accessory and meter is the lowest rating of any individual component. If you use a probe that is rated lower than the meter, the lower rating governs the whole setup. Check each accessory’s label before you start work.
A clamp meter rating does not make an unsafe panel safe. Panel and service work belongs with a licensed electrician, and this explainer does not describe a procedure for opening a panel or working on live service equipment.
Features that affect daily use
The jaw is the feature the product page emphasizes. Its opening is 18 mm, and the cable that joins the jaw to the body is 900 mm, which Fluke presents as the way to reach a wire in a tight space and still read the display. Fluke presents the cable as the way to reach wires while keeping the display readable.
The meter ships with TL75 test leads, a soft carrying case, a magnetic hanging strap and a quick reference guide, according to the product page. The manual also lists test leads as TL75 or TL175, depending on the kit. Check the leads in your box against the category rating you need.
The product page describes the meter as a true-rms instrument. The crest factor figures are the part of the spec that tells you how peaky a waveform the stated accuracy covers, and Fluke’s note says to add 2% for crest factors above 2.
Checks before you buy
Confirm the battery count. The product page says five AA alkaline batteries come installed. The users manual says two AA batteries are installed, and its specification section lists 2 AA batteries. Read the box contents when the meter arrives, and check that the number matches the model you bought.
Check the current range against your conductors. The jaw reads up to 200.0 A, and the manual asks you not to use it on circuits above 200 A or 600 V. If your work sits above 200 A, a clamp meter with a higher range or a flexible probe is the better tool. Our guides to AC clamp meters and DC clamp meters cover the other formats.
Check the voltage category against your work. The 600 V CAT III rating is the figure Fluke publishes. If your work sits in a category above that, the meter is not the right tool, and the manual’s rule about the lowest-rated component means that a lower-rated accessory limits the setup further.
Decide whether you need a second function. The 365 covers current, voltage, resistance and continuity. If you need capacitance or temperature, the manual does not describe those functions, so look at other models. If you need those functions, compare other formats in our clamp meters for HVAC work guide.
How we chose
This explainer uses three criteria. The figures had to appear in Fluke’s product page, users manual or calibration manual, all opened on 27 October 2026. The safety advice had to come from the manual’s own warnings and procedures. Every statement about what the meter does had to match a function the manual or the product page lists. We did not rank the 365 against other meters, and this article does not say it is the best choice for any job.
What we could not verify
The sources we opened do not give field accuracy under real conditions. The figures are Fluke’s published specifications, measured under the conditions the company states. We could not check the reading on a real installation.
The battery count differs between the product page and the users manual. We cannot say which figure is correct for the unit you buy, so check the box.
The sources we opened do not confirm the auto power-off interval. The calibration manual we opened covers verification and adjustment, and it is a separate document from the users manual.
The users manual is a 2010 edition. The product page is current on Fluke’s site, but the sources do not show whether the 2010 manual still matches the current production unit in every detail.
FAQ
What is the Fluke 365 used for?
According to the users manual, it measures AC and DC current, AC and DC voltage, resistance and continuity. Its detachable jaw is designed for wires that are hard to reach with a standard clamp.
What is the maximum current the jaw can measure?
Fluke publishes a 200.0 A range for AC and DC current through the jaw. The manual also says not to measure current in circuits carrying more than 200 A or 600 V with the jaw.
Is the Fluke 365 rated for mains work?
Fluke publishes 600 V CAT III with pollution degree 2. Whether a task falls within that rating depends on the location and on the rating of every accessory. Panel and service work belongs with a licensed electrician.
How many batteries does it take?
The users manual lists 2 AA batteries. The product page lists five AA alkaline batteries installed in the box. Check the battery compartment and the box contents when the meter arrives.
Does the meter read temperature or capacitance?
The users manual does not list either function. The sources we opened do not describe them for the 365.
What should I check before I clamp a conductor?
Check the current against the 200 A and 600 V limits in the manual, make sure the test leads and accessories meet the category you need, and confirm the battery door is closed and latched.
Bottom line
The Fluke 365 suits work where a standard clamp meter cannot reach the wire, provided the current stays below 200 A and the voltage stays within the 600 V CAT III rating. Before you buy, check the battery count against the box, confirm the functions you need are on the list, and match every accessory to the category you work in.
Sources
- Fluke Corporation, “Fluke 365 Detachable Jaw True RMS AC/DC Clamp Meter,” product page. https://www.fluke.com/en-us/product/electrical-testing/clamp-meters/fluke-365 (opened 2026-10-27)
- Fluke Corporation, “365 Detachable Jaw True-rms Clamp Meter Users Manual,” PDF, 2010. https://media.fluke.com/2de9e41c-839c-4b0c-93bf-b10800c1a00a_original%20file.pdf (opened 2026-10-27)
- Fluke Corporation, “Detachable Jaw True-rms Clamp Meter Calibration Manual,” PDF, December 2010. https://assets.fluke.com/manuals/365_____cmeng0000.pdf (opened 2026-10-27)