How to Check a Bike Light With a Multimeter
As an Amazon Associate we earn from qualifying purchases.
How to check a bike light with a multimeter starts at the power source and moves toward the lamp. Check the batteries and their contacts first, then measure the battery voltage, then test the switch and wiring for continuity, and last check the LED. The method covers battery-powered lights and the low-voltage side of generator lights. It does not cover chargers, mains adapters or any wall-powered circuit.
Quick answer
- Check the batteries and their contacts first.
- Measure battery voltage with the light switched off.
- Test the switch and wiring for continuity with the power removed.
- Use the diode test on the LED, then check voltage across it with the light on.
Electrical safety before you start
Work on mains circuits can kill. Before you measure anything, check that the meter’s CAT rating suits the circuit you are testing, and read the rating from the listing or the manufacturer’s manual. Panel and service work belongs to a licensed electrician.
Fluke’s safety guide explains that shock occurs when the human body becomes part of an electrical circuit, and it advises choosing a tool rated for the highest category you could potentially use it in. A bike light runs on a few volts from batteries or a generator. Its charger or mains adapter plugs into a wall, and this guide does not describe work on those parts. If your meter’s listing does not state a CAT rating, the listing does not state a CAT rating, and you should not assume one.
How we chose
The steps below are the low-voltage checks that the sources we opened describe: battery inspection, DC voltage, continuity, resistance, the diode test and a voltage check across an LED. The order follows the fault path from the power supply to the lamp. Both the derReparierer notes and the Fiido guide start with batteries and connections. We left out dynamo output testing and charger testing. Every source was opened on 2026-10-21, and every quoted phrase was found in the fetched text.
What you need before you start
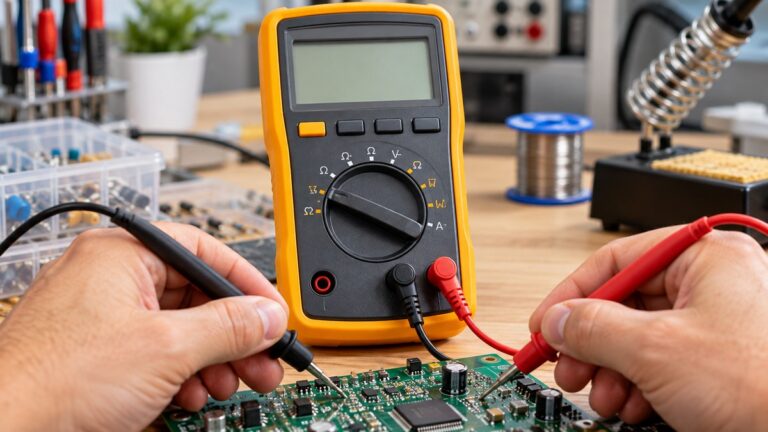
You need a digital multimeter with its test leads, a tool for the battery compartment, and the light’s manual if you have it. For battery work, put the black probe in the COM jack, the red probe in the V/Ω jack, and turn the dial to DC volts. Fluke’s DC voltage guide says that, if you are uncertain which setting to choose, you should start with dc voltage. Modern meters default to autoranging, so a battery pack of a few volts usually needs no manual range choice.
Inspect the test leads first. Fluke’s test-lead guide recommends a visual check of the insulation, probe handles and connectors, and a check that the insulation is not nicked or cracked. Replace a damaged lead before you measure a light.
Step 1: check the batteries and their contacts
Start with the power supply. The derReparierer repair notes for an LED bike lamp that does not turn on say to first check the batteries and the battery contacts, and to insert new batteries if necessary. The Fiido guide lists a dead battery or a faulty connection between the light and the battery as the most frequent cause of a light that will not work.
Remove the batteries and look at the contacts for corrosion, looseness and damage. Fiido lists loose, damaged or corroded wires and connectors as a cause of power loss. If the light has been rained on or washed, Fiido says water can cause short circuits or corrosion inside the light or its connectors. Follow the manufacturer’s manual for cleaning the contacts. Insert fresh batteries before the next steps unless the manual says otherwise.
Step 2: measure the battery voltage
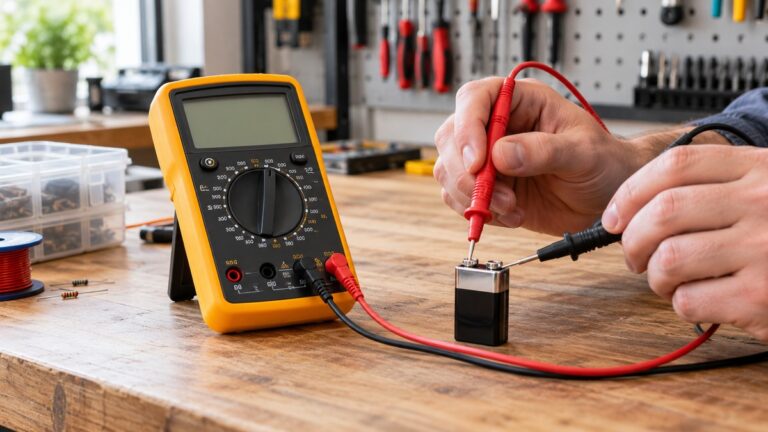
With the light switched off, touch the red lead to the positive (+) battery terminal and the black lead to the negative (−) terminal, then observe the reading. Fluke’s battery guide gives this order for a vehicle battery, and the same probe placement applies to a bike light pack. Its guide also says to inspect the terminals for corrosion or looseness before testing, and to turn off all accessories before a resting voltage measurement.
Fluke warns that lead-acid batteries can emit explosive gas and contain acid.
Compare the reading with the voltage rating in the light’s manual. The sources we opened do not give a voltage range for bike light cells, so this guide supplies no pass or fail number. Fluke’s battery guide gives figures for a 12 V vehicle battery, where about 12.6 V is listed as fully charged. Those figures do not apply to a bike light pack. If the reading is below the rating, recharge or replace the batteries and measure again. If it is correct and the light is still dark, go to Step 3.
Step 3: check the switch and wiring for continuity
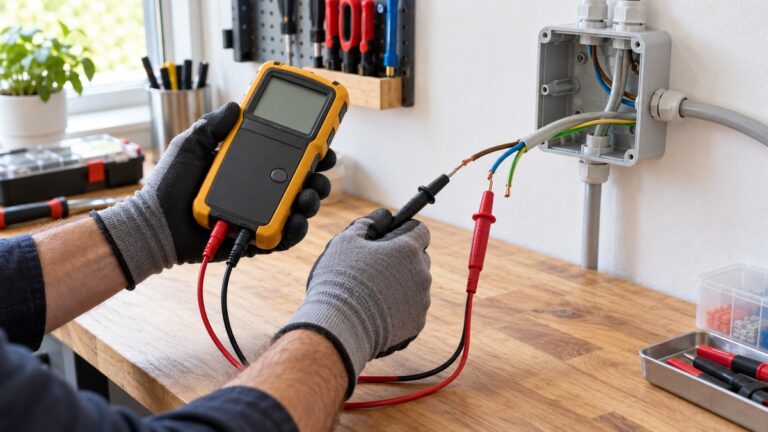
Continuity needs the circuit de-energized. Fluke’s continuity guide says to connect the test leads across the component being tested with the circuit de-energized. The meter emits a beep if a complete path is detected, and it does not beep if the circuit is open, for example when a switch is in the OFF position.
Remove the batteries before you start. Set the meter to continuity and touch the probes to the two ends of the switch. Fluke’s guide notes that the lead position is arbitrary, but the component must be isolated from other components in the circuit. Switch the light on and off and watch the meter in each position.
A switch that beeps in the ON position and stays silent in the OFF position matches the continuity guide’s description of a complete path and an open circuit. A switch that never beeps in ON, or beeps in OFF, has a fault. The sources do not give a switch-specific repair, so use the manual or the manufacturer’s support page for that step.
Repeat the check on the wires between the switch and the lamp, and on each connector.
Step 4: check the resistance of connections
Fluke’s resistance guide says that when the leads are open the display should show OL, and when the leads touch each other it should show 0 Ω. The same guide says the leads add a small resistance, typically 0.2 Ω to 0.5 Ω, and that the relative mode, marked REL, subtracts that lead resistance from the reading.
Fluke’s continuity guide says to use the lowest range setting for testing components that should have a low-resistance value, such as electrical connections or switch contacts. Measure across the connection with the power removed. The sources do not say what resistance a bike light connection should read. Fluke notes that dirt, solder flux or oil can affect a resistance reading, so clean the contact point before deciding a connection has failed.
Step 5: check the LED with the diode test
Set the meter to the diode test. Fluke’s diode guide says a diode is forward-biased when the positive (red) lead is on the anode and the negative (black) lead is on the cathode. Reverse the leads to test the other direction. A working diode conducts in one direction only, so the two readings should differ.
Fluke’s diode guide says a good forward-biased diode displays a voltage drop ranging from 0.5 to 0.8 volts for the most commonly used silicon diodes. The meter displays OL when a good diode is reverse-biased. An open diode shows OL in both directions. A shorted diode shows about the same reading in both directions, about 0.4 V in Fluke’s example.
Those figures are for silicon diodes. The sources we opened do not give a forward voltage for a bike LED, so do not treat 0.5 to 0.8 V as the expected reading for one. Use the LED datasheet or the light’s manual if you need a figure. The sources also do not describe how to identify the anode and cathode on a bike light LED, so check the markings or the manual first.
If the LED reads OL in both directions, the diode guide’s description of an open diode suggests the junction may be open. That is an inference from the diode guide, not a finding stated for LEDs.
Step 6: check voltage across the LED with the light on
A diode test uses the meter’s own small test voltage, so it does not show what the light’s circuit is doing. The derReparierer repair notes describe a second check: the voltage across the LED is measured to see whether the electronics are working. In the notes’ example, the lamp did not turn on after the batteries were checked, and the voltage across the LED showed the electronics were working.
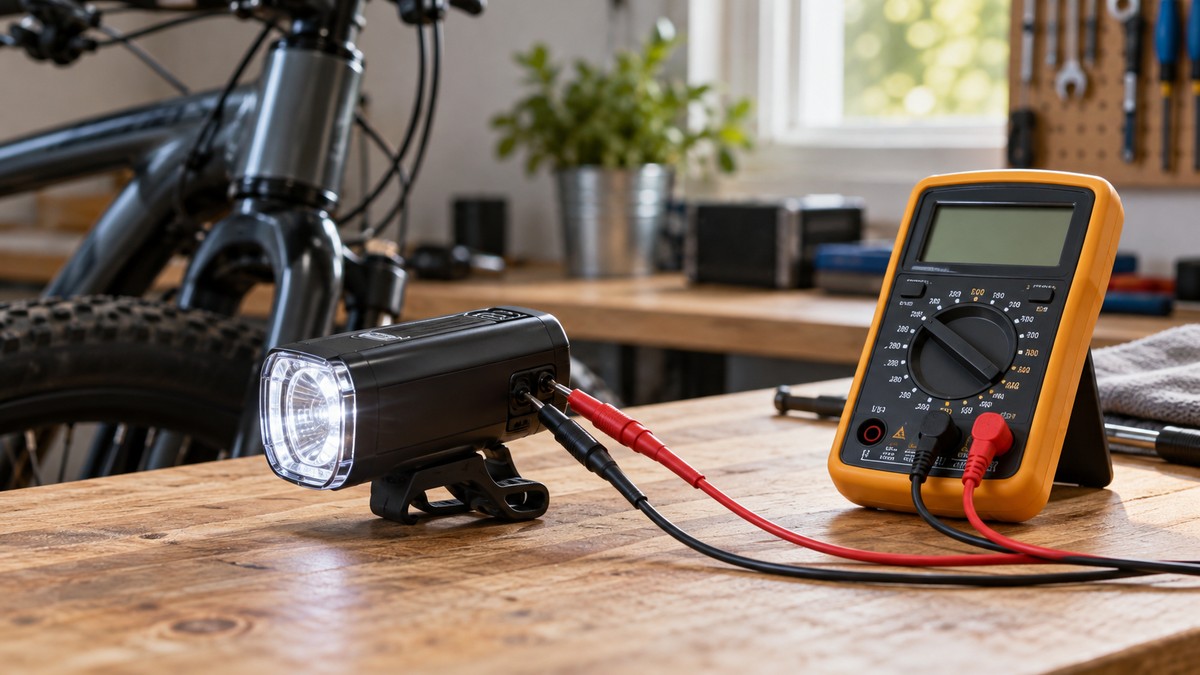
With fresh batteries installed and the light switched on, measure DC volts across the LED terminals, using the same range and probe setup as Step 2. If the meter shows a voltage but the LED stays dark, the derReparierer notes say the LED is defective and must be replaced. If the meter shows no voltage across the LED with the switch on, the fault is upstream of the LED, so return to Step 1 and Step 3. The sources do not describe how to test the driver electronics in a bike light.
Generator lights and dynamos
Some bike lights do not run their lamp from batteries. Harris Cyclery’s lighting guide says generator-powered lights have no worries about battery life. Sheldon Brown’s pages give some stated generator figures. The Sturmey-Archer X-FDD page lists its power output as 6 Volts, 3 Watts and says the hub requires no batteries. The Busch and Müller bottle generator page lists electrical power as 6V, 3W.
The sources do not say how to measure dynamo output with a multimeter, and they give no readings for a generator circuit at speed. This guide therefore describes no dynamo test. For a generator light, Step 1 applies only to any fitted batteries, and Step 3 applies to the switch and wiring. A dead generator light with no batteries needs the manual or a bike shop for the generator side.
Reading the results
- A battery pack below the light’s rated voltage: recharge or replace it, using the manual’s rating.
- Correct battery voltage and a dark light: move to continuity on the switch and wiring. Fiido lists faulty connections as a frequent cause.
- An LED that reads OL in both diode directions: this fits the diode guide’s description of an open diode, but the sources do not state it for LEDs.
- Voltage across the LED with the light on and no light output: the derReparierer notes call the LED defective.
- No voltage across the LED with batteries installed and the switch on: the fault lies in the switch, wiring or connectors.
Common mistakes
Fluke’s fuse guide says that putting voltage across the current jacks can blow the meter’s fuse. Keep the red lead in the V/Ω jack for every check in this guide.
Do not replace a blown meter fuse with one of the wrong rating. Fluke says manufacturers specify the required amperage, interrupt and voltage ratings for replacement fuses in the manual and often on the meter. It also calls a wire placed around a fuse a thermal hand grenade.
Do not test a light while its charger is plugged in. Unplug the charger and remove the batteries before Step 3.
Related guides
For more on what a continuity beep means, read Best Continuity Checker. For a low-voltage tester built for light circuits, see the 12 V tester light roundup.
Frequently asked questions
Can I check a bike light without opening it?
Steps 1 and 2 need the battery terminals, and Step 3 needs the switch. The sources we opened do not say whether a light can be tested without opening its housing.
What voltage should a bike light battery read?
The sources we opened do not give a voltage range for bike light cells. Use the rating in the light’s manual, and read the battery with the light switched off, as Step 2 describes.
Why does my bike light flicker?
Fiido says a battery that is low or not providing enough voltage can make a light flicker, and that loose, damaged or corroded wires can disrupt the power flow. Check the battery in Step 1, then the connectors and wiring in Step 3.
What does OL mean on an LED check?
Fluke’s diode guide says an open diode shows OL in both directions. The sources we opened do not state what OL means on an LED, so use the second check in Step 6 before deciding.
Does this work need a specific CAT rating?
The sources we opened do not set a single CAT rating for bike light work. Fluke advises choosing a tool rated for the highest category you could potentially use it in. If your meter’s listing does not state a CAT rating, this guide cannot confirm the meter’s suitability for the work.
What we could not verify
The sources we opened do not cover the points below, and this guide does not supply them. Plainly: they do not give the numbers that would turn these checks into a pass or fail test for a specific light.
- The expected voltage for bike light battery packs, or any cutoff voltage.
- The forward voltage of a bike light LED. Fluke’s silicon diode range is not an LED value.
- How to find the anode and cathode on a bike light LED.
- How to measure dynamo or generator output, and what to expect at speed.
- How to test the driver electronics inside a bike light.
- Whether a particular light’s contacts can be cleaned safely, and with what.
- The CAT rating of any meter, unless the meter’s own listing or manual states it.
Sources
- https://www.fluke.com/en-us/learn/blog/digital-multimeters/how-to-test-a-battery-with-a-multimeter
- https://www.fluke.com/en-us/learn/blog/digital-multimeters/how-to-test-diodes
- https://www.fluke.com/en-us/learn/blog/digital-multimeters/how-to-test-for-continuity
- https://www.fluke.com/en-us/learn/blog/safety/multimeter-guide
- https://www.fluke.com/en-us/learn/blog/digital-multimeters/how-to-measure-dc-voltage-with-a-digital-multimeter
- https://www.fluke.com/en-us/learn/blog/digital-multimeters/how-to-measure-resistance
- https://www.fluke.com/en-us/learn/blog/digital-multimeters/testing-your-test-leads
- https://www.fluke.com/en-us/learn/blog/digital-multimeters/choosing-the-correct-fuse-for-your-tester
- https://eu.fiido.com/blogs/news/why-isnt-my-e-bike-light-working
- https://derreparierer.codeberg.page/derreparierer/bike/led_lamp/readme.html
- https://www.sheldonbrown.com/harris/lighting/index.html
- https://www.sheldonbrown.com/harris/lighting/bottle.html
- https://www.sheldonbrown.com/harris/lighting/sturmey-archer-x-fdd.html