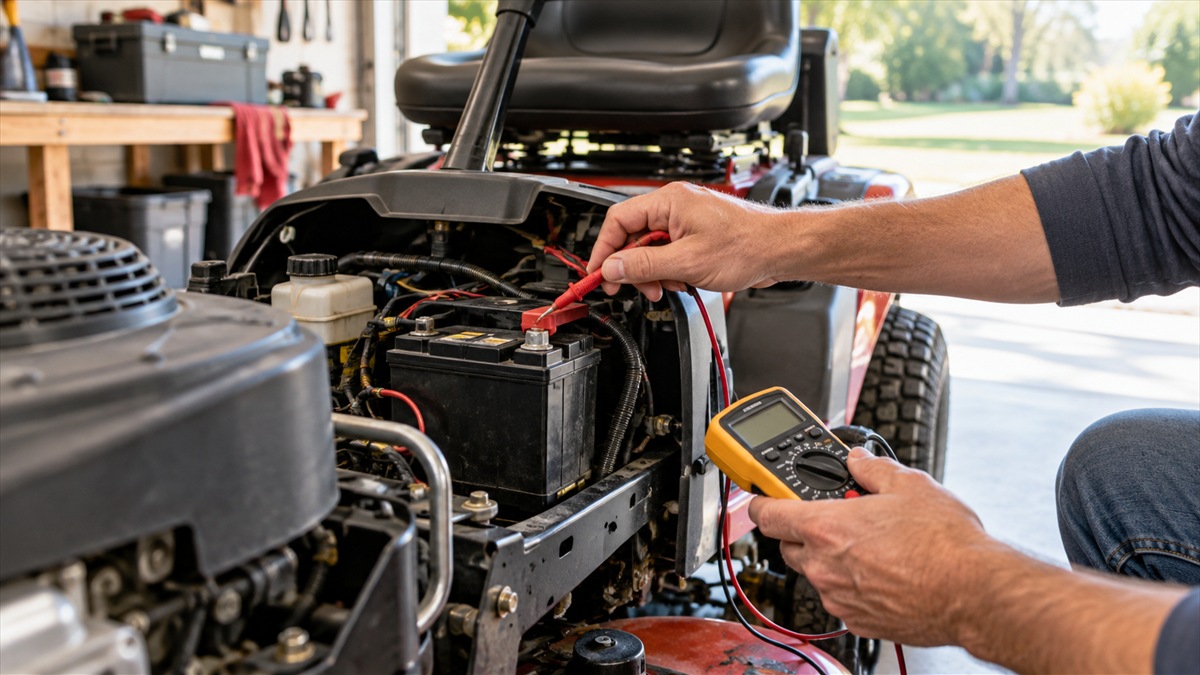
Best Multimeter for Lawn Mowers: Battery and Charging Checks
As an Amazon Associate we earn from qualifying purchases. Details
Updated 19 October 2026
Author: Editorial team, bestmultimeter2020.com
The best multimeter for lawn mowers is the one that can do three jobs well: read DC volts for the battery, read the alternator output the manufacturer specifies, and check continuity on switches and wiring. Most mowers with a key start have a battery and a charging system, and a multimeter can show which part is failing before you buy parts. This guide walks through each check, explains the settings and the readings, and notes where the engine manual has to decide the test, because the setup depends on the engine.
Quick answer
- Start with the battery. Measure resting voltage with the engine off, and use the Fluke chart as a guide: about 12.6 V is fully charged, and below 12.0 V is likely discharged or weak.
- If the battery will not hold a charge, the Briggs & Stratton guidance says to clean and tighten the connections, then charge it. If it does not reach full charge within about 8 hours, the page says the battery is dead.
- Test the alternator output with the engine running at the speed the engine manual specifies. The Briggs page uses 3600 RPM as its default test speed unless the manual says otherwise.
- Check switches and wiring for continuity with the circuit de-energized and, where needed, the part removed.
What a mower multimeter has to do
A mower’s electrical system has three parts that a multimeter can read. The battery is a 12-volt DC source. The charging system is an alternator. The Briggs page says “Alternators power the small engine while it is running, keeping the battery charged by circulating power back through the system.” The switches and wiring are the third part, and they are checked for continuity, not voltage.
That means the meter needs a DC volts setting for the battery, an AC or DC setting for the alternator (depending on the engine), and a resistance or continuity setting for the switches. Briggs says the alternator type decides the setting, and the test has to be set up on the engine’s own parts.
The Fluke DC voltage guide gives the starting point for the battery: “Step 1. Turn Dial to DC Voltage”. A mower battery is DC, so an AC setting on the battery gives the wrong kind of reading.
The battery check
The battery check follows the same logic as a car battery. Turn the engine off, switch off the key and any accessory, and let the battery settle. The Fluke battery guide says “Turn off all accessories before taking a resting voltage measurement.” It also suggests the range for a 12-volt battery: “Use Range to select 6V or 60V range depending on battery condition.”
Connect the black lead to COM and the red lead to the V and ohms jack. Touch the red lead to the positive terminal and the black lead to the negative terminal. The guide says “Touch the red lead to the positive (+) battery terminal.” and “Touch the black lead to the negative (−) battery terminal.” Read the display and write the number down.
The Fluke chart gives the reading labels. About 12.6 V is labeled as fully charged, about 12.4 V as about 75% charged, and about 12.2 V as about 50% charged. Below 12.0 V is labeled “Likely discharged or weak.” These are approximate labels from a meter maker’s guide, not a battery specification.
Before you connect anything, look at the terminals. The Fluke guide says “Always inspect battery terminals for corrosion or looseness before testing.” A loose clamp can make a good battery read low, and a dirty terminal can change the reading from one check to the next.
The safety caution is the same as for a car. The Fluke guide says “Use caution when working around lead-acid batteries — they can emit explosive gas and contain acid.” Briggs adds a warning for servicing batteries: “Warning: Improper use of the battery and charger can result in an explosion and burn hazard.” Work in a ventilated area, keep sparks and flames away, and keep your hands clear of moving parts.
When the battery will not hold a charge
The Briggs page gives a practical sequence for a battery that will not hold a charge. Its words are “If your lawn mower battery won’t hold a charge, verify connections are clean and tight first, then connect it to the charger.” Then it sets a time limit: “If it isn’t fully charged within 8 hours, your battery is dead and you’ll need to replace it.”
The time limit is Briggs’s own guidance for its battery and charging setup. It is a useful rule for a mower, but a reader should check the battery and charger manual for the exact charge time, since a different battery may need a different time.
The drain check
A battery that reads fine after a charge can still drain while the mower sits. The Briggs page says “If your lawn mower battery does charge fully, the charge should not drain if it is not in use.” For a drain that continues, the page recommends a multimeter check “to see if your battery drains power while not in use.” If the battery holds the charge through that test, the page says “you may have an issue with the alternator.” This is a diagnosis path, not a repair procedure. The page does not give a current-reading method in the text we opened, so follow the engine manual for the exact setup.
The charging system check
The alternator test is the part that needs the engine manual most. Briggs describes the basic method. First, identify the alternator type, because the meter setting depends on it. The page says to “Set the multi-meter dial to AC VOLTS or DC AMPS.” For an AC volts alternator, the page says to “connect the other end to ground, such as an engine bolt or cylinder fin.” For a DC amps alternator, the page says the battery must be grounded to the equipment frame to make a complete circuit, and the meter goes between the positive terminal and the test lead.
Start the engine next. Briggs says “Start the engine and let it run for several minutes to reach its operating temperature.” Then set the engine test speed. The page says “Using a tachometer (service part number 19598 ), set the engine test speed and check the reading on the multi-meter.” It also says “Unless specified, all tests should be carried out with the engine running at 3600 RPM.” Use the speed your engine manual lists if it differs.
Compare the reading with the specification. Briggs says “Compare your multi-meter reading against the recommended voltage (amps or volts) listed in the using the Alternator Identification Chart.” If the result does not match, the page says “If your results do not match the specifications, you will need to replace your alternator stator if it is an AC VOLT alternators.” For a DC amps alternator, the page says replacing the stator, diode or regulator may be needed, and it suggests contacting a dealer if the results remain out of range.
Turn off the engine before you disconnect the tester. Briggs says “Turn off the engine and disconnect the tester from your equipment.” The page also gives a rough first check that needs no meter. It says “For the easiest method to check your alternator, simply turn on the headlights to your lawn mower or outdoor power equipment.” If the lights dim after you turn off the engine, the alternator works. The page does not say what happens if the lights do not dim, so take the meter readings after that.
Checking the battery against the engine running
The Fluke battery guide gives a reference for a car battery with the engine running: “Above 13.0 V (engine running) → Indicates charging voltage.” That label was written for a 12-volt car battery. A mower battery has a similar 12-volt design, but the engine’s charging system may differ. Use the label as a rough check, and rely on the engine manual’s specification for the final answer.
Switches and wiring: the continuity check
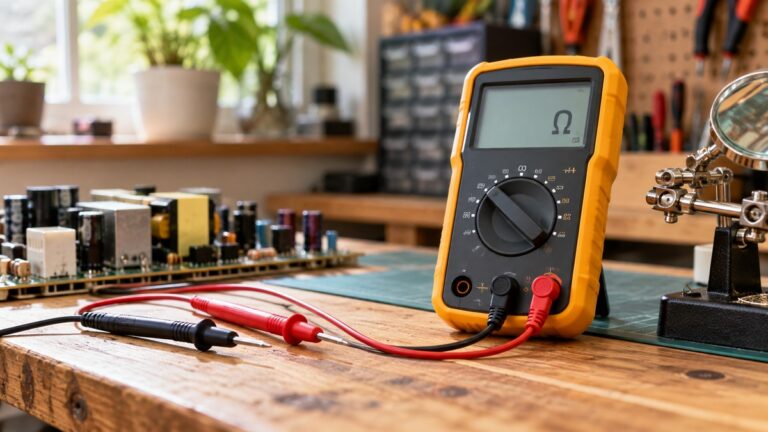
A multimeter also checks the switches and wiring, which can stop a mower from starting even when the battery is good. The Fluke resistance guide says that “Ideally, if test leads touch (are shorted together), the display should show” zero ohms. Touch the two leads together first, to confirm the meter reads close to zero before you test anything. The Fluke guide then says “Best results will be achieved if the component to be tested is removed from the circuit.” Where you can, disconnect the switch first, so the reading comes from the switch and not the wiring around it.
A continuity check does not need power. Turn the key off, disconnect the wire, and test across the switch in its on and off positions. A switch that shows open in the on position is a sign of a fault. Record which position you used.
Safety rules for every check
The Briggs page tells the reader to read the manual first: “Always read the engine and equipment manual” before “starting, operating, or servicing your engine or equipment”, to avoid personal injury or property damage.
The federal workplace electrical rule in 29 CFR 1910.303 says “Listed or labeled equipment shall be installed and used in accordance with any instructions included in the listing or labeling.” That rule applies to workplaces, but its principle applies at home: follow the instructions for the equipment and the meter, and do not improvise a connection to get a reading.
Keep the engine off when you connect or disconnect a lead, unless the test needs the engine running. Keep your hands clear of the belt, the blade and the fan while the engine runs. Briggs also tells the reader to “Always wear safety glasses” and to “Service batteries in a well ventilated area” when servicing batteries.
A table for the three checks
| Check | Meter setting | Reading to look for | Source for the check |
|---|---|---|---|
| Battery at rest | DC volts | About 12.6 V labeled fully charged; below 12.0 V labeled likely discharged | Fluke battery guide |
| Battery with the engine running | DC volts | Above 13.0 V labeled charging voltage in the Fluke guide | Fluke battery guide |
| Alternator output | AC volts or DC amps, per the alternator type | The value in the engine’s specification chart | Briggs & Stratton page |
| Switch or wire | Resistance or continuity | Close to zero when leads touch; open or high on a bad switch | Fluke resistance guide |
How we chose
The pages we chose cover the three checks: a battery check from a meter maker, a DC volts guide from the same maker, a resistance guide from the same maker and a small-engine charging page from an engine maker. We opened each page and checked every quoted line against the page text. We picked these because each one explains the method in its own words and names the setting or the limit.
This guide does not name a mower model or list products. The pages we opened do not compare meters for mowers, and this batch has no product listing data to rank from. The guide sets out the checks and what each reading means, so a reader can apply the same method to any meter.
What we could not verify
The Briggs page refers to an Alternator Identification Chart and a PDF of alternator specifications. We did not open either one, so this guide gives no specification value for any alternator.
We could not verify the alternator output for other engine makers. The Briggs method and its 3600 RPM default apply to Briggs engines. Other engines have their own manuals, speeds and values.
Forum posts on small-engine sites give voltage figures for charging systems. We did not use those figures, because they came from user posts rather than a manufacturer or a regulatory page.
The Fluke 13.0 V label was written for a car battery. We could not confirm that it applies to a mower’s charging system.
The text we opened does not give a current-reading method for the drain check, so the exact setup should come from the engine manual.
FAQ
Is a basic multimeter enough for a lawn mower?
For the battery and the charging system, a basic meter with DC volts and AC volts settings can do the work. The alternator test may need an amps setting, and the engine manual decides which one. A resistance setting covers the switch checks.
What voltage should a mower battery read at rest?
The Fluke chart labels about 12.6 V as fully charged, and below 12.0 V as likely discharged or weak. Measure with the engine off and the key off, and allow the battery to settle first.
Why does the battery read fine but the mower will not start?
A resting voltage does not show whether the battery can deliver the starter’s current, and a switch or wire fault can stop a start even with a good battery. Check the switch and wiring for continuity as well.
What engine speed should I use for the alternator test?
Briggs uses 3600 RPM as its default unless the manual specifies another speed. Follow the engine manual for your model, because the test speed is part of the specification.
What if the battery will not charge after 8 hours?
The Briggs page says that if the battery is not fully charged within about 8 hours, the battery is dead and needs replacing. Check the connections and the charger before you buy a new battery.
Bottom line
Test the battery at rest first, then check the charging system at the engine’s specified speed, then check the switches for continuity. Stop and follow the engine manual whenever a value is outside the specification.
For a load test on a battery, see the load test guide. For choosing a hand-held meter, see the hand-held multimeter guide.
Sources
- Briggs & Stratton: How to test a small engine charging system, battery & alternator?: the battery charge rule, the drain check, the alternator test steps and the 3600 RPM default
- Fluke: How to Measure Battery Voltage with a Multimeter: the resting voltage steps, the range choice and the reading labels
- Fluke: How to Measure DC Voltage with a Digital Multimeter: the DC dial setting and the probe jacks
- Fluke: How to Measure Resistance with a Digital Multimeter: the zero check with leads together and the removal of the component before testing
- Cornell Law School LII: 29 CFR 1910.303 General requirements (electrical): the instructions rule for listed or labeled equipment